
How to make a cat with your own hands from wool?
Today we'll tell you how to make a cat yourself. We're very interested in this topic, so we want to share it with you, our dear reader. Before we walk you through the step-by-step process of felting a cat from wool, let's decide on the materials you'll need for your future kitty.
Materials:
- Unspun sheep wool (two colors: ivory and pink);
- Felting needles (coarse, medium and reverse needle);
- Felting mat or sponge;
- The fishing line is thin;
- Eyes for dolls;
- Accessories (e.g. costume jewelry).
Progress of work
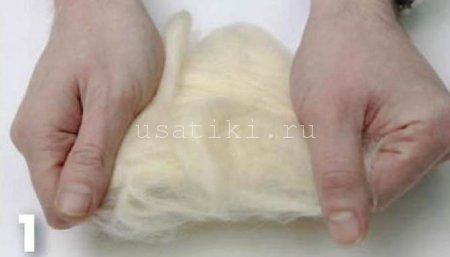
First, tangle the main color wool together. As you pull apart the wool, crisscross the strands to maximize tangling.
We select the required amount of wool to form the head of our future work and, using a starting needle and fingers, begin to felt the wool into a ball shape.
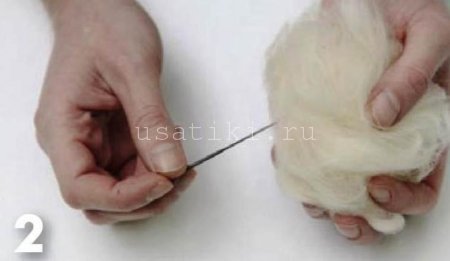
Work the needle as deeply as possible, gradually compacting and rolling the piece into a ball of uniform size and density. Remember, making a cat yourself is easy; it just takes a little patience.

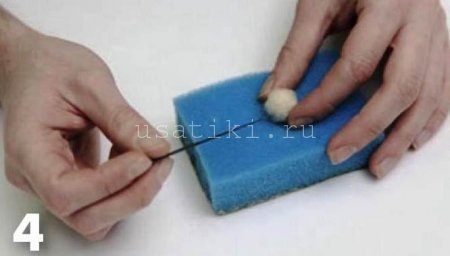
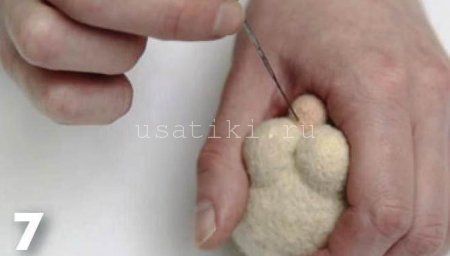
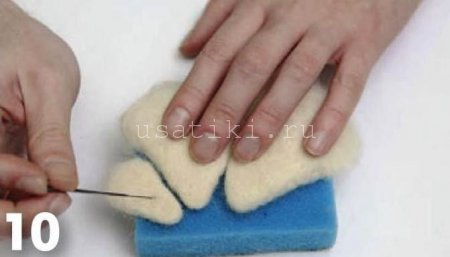
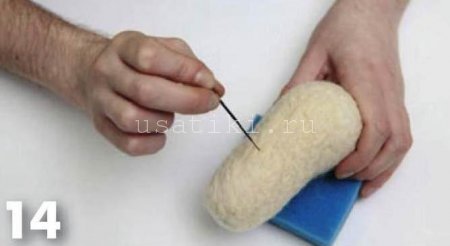
Separately, on a felting mat or sponge, we form two blanks for the future cheeks in the form of small hemispheres.
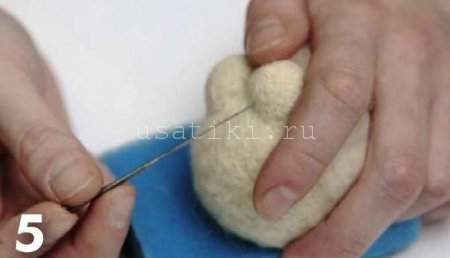
We attach two cheek pieces to the head in the place where we plan to form the muzzle of the future cat.
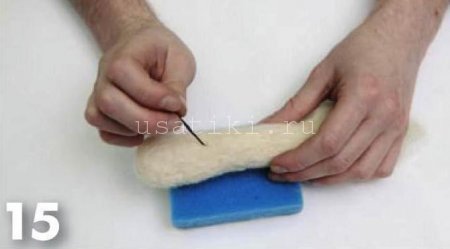
Separately felt the nose from pink wool. Leave the wool loose where the nose will join the head.
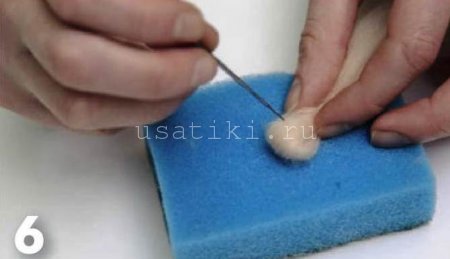
We felt the nose to the muzzle using the remaining unfelted wool and correct the shapes.
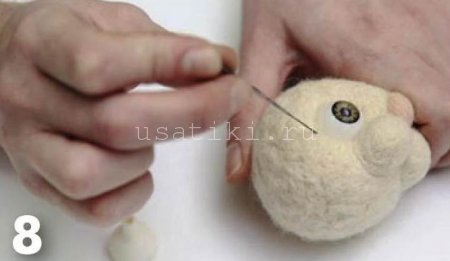
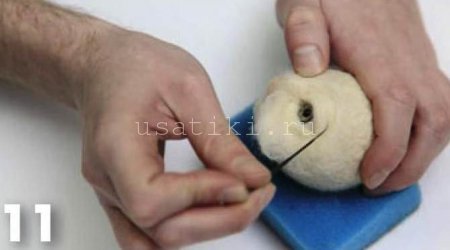
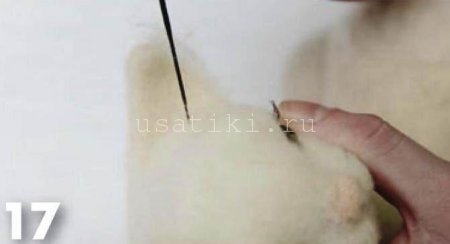
Using a coarse needle, we hollow out the eye sockets to the shape of the finished eyes and glue the eyes with transparent Moment glue.
Separately, we felt the triangular-shaped ears, also leaving the wool loose in the places where the parts are connected.
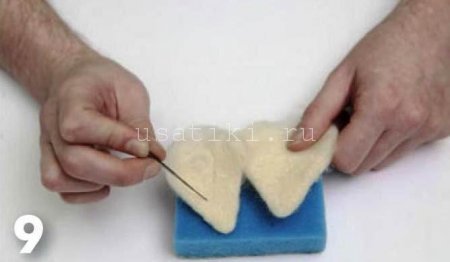
We form the mouth on a felting mat or sponge using the same method described above. We work on all paired parts simultaneously to ensure they all turn out exactly the same.
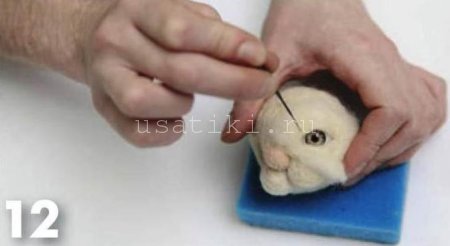
We form eyelids around the eyes using small flat strips, felted separately.
Using a needle, we form the cut of the eyes, and we also work with both eyes at the same time to ensure that the shape of the eyes is the same.
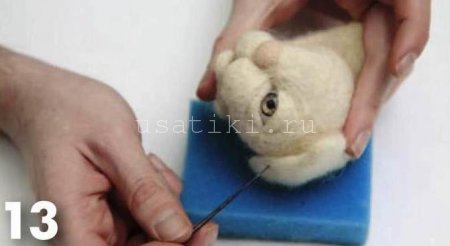
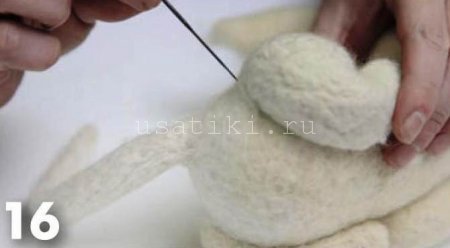
We attach the ears to the head and correct all the previously made shapes.
We roll the body of the future work in the form of an oval blank, taking into account the size and proportions relative to the head.
Next, we also felt the paws and tail separately, but do not felt them to the final density, since we will give them a curve later.
We felt the front and back legs, as well as the tail. We create the desired curves and felt to the final density.
Once all the shapes are ready, we use a reverse needle to process the entire surface of the cat, thereby giving it fluffiness.
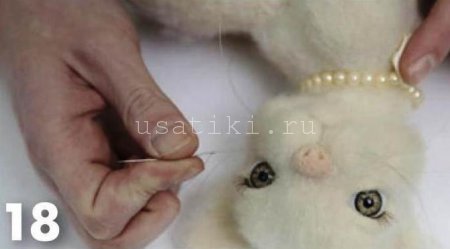
Using a sewing needle and thin fishing line, we make whiskers on the muzzle by threading the fishing line with a knot at the end through the cheek and pulling the knot slightly inside the felted part.
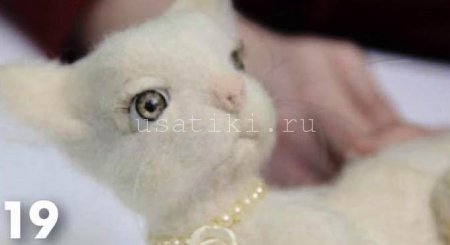
Decorate your work with accessories and brush your cat with a comb or pet brush. Done!
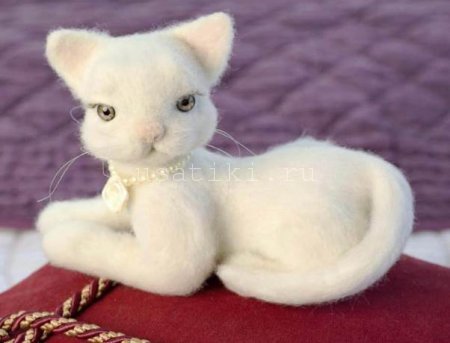
This is what a handmade cat made from wool looks like. It's really cute!
Read also:


Add a comment