
Let's draw a cat's face
To ensure a cat's facial design is easily recognizable, it's important to determine the proportions and relationships between individual elements right away. Breed certainly plays a role, but in the classic design, the protruding part of the head, including the nose and mouth, should occupy exactly half the total height of the head. Cats have high foreheads, which is why they are considered the intellectuals of the animal kingdom.
Where to start
To understand a cat's distinctive anatomical features, it's necessary to observe it for a while. It's a good idea to consult scientific literature, but unless you're aspiring to be a professional artist, delving into the skull's structure and analyzing the muscular framework's attachment to it isn't necessary. To begin, create a reference image of the cat's face—schematic drawings in different positions. This allows you to track changes in the animal's appearance depending on its head tilt and the emotions it's experiencing.
There's no need for shading or in-depth detailing; simply capturing the image is enough. A cat's head fits perfectly within a circle, or, in some breeds, within an oval. The muzzle is elongated, but not pointed like a dog's. The head is large and almond-shaped. Most cats have erect, triangular ears.
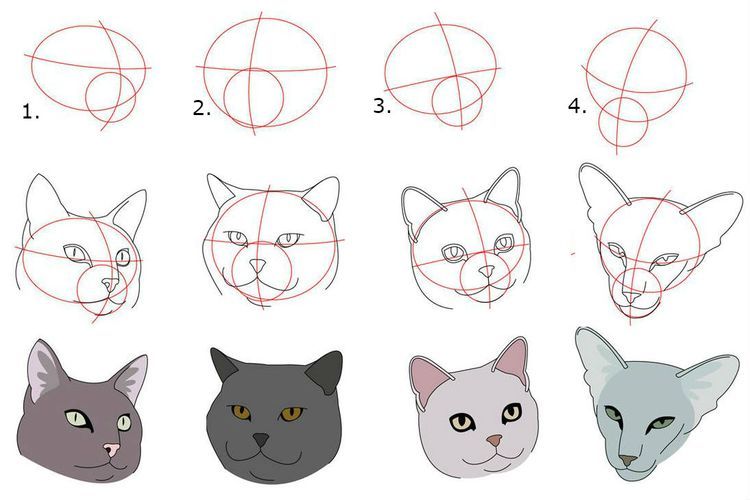
Let's take a closer look at a simple reference. It's common practice to draw an animal or human head in three positions: profile (side view), full-face, and three-quarter view. The last option is the most complex and requires certain artistic skills, as it involves perspective. However, a full-face drawing, where the face is facing the viewer, is much more accessible for beginners.
Step-by-step instructions:
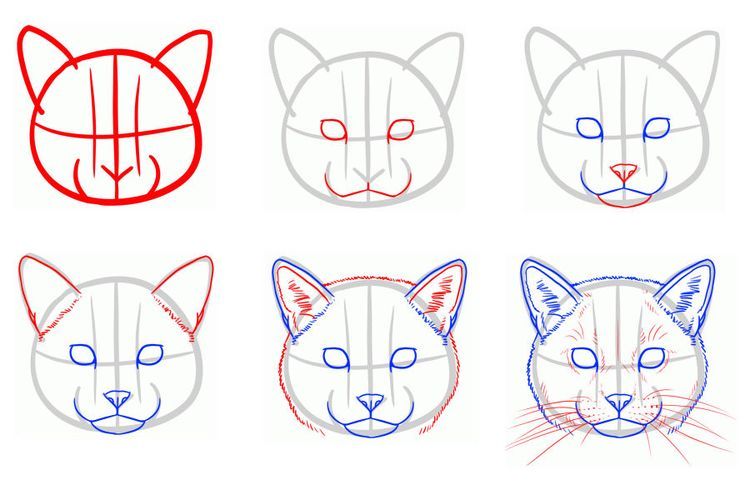
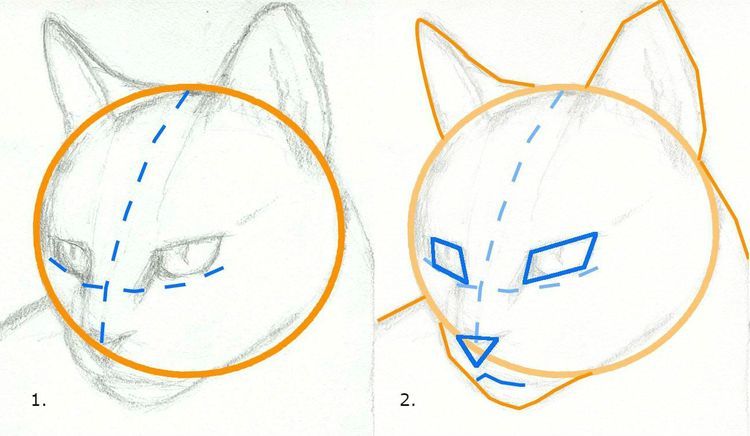
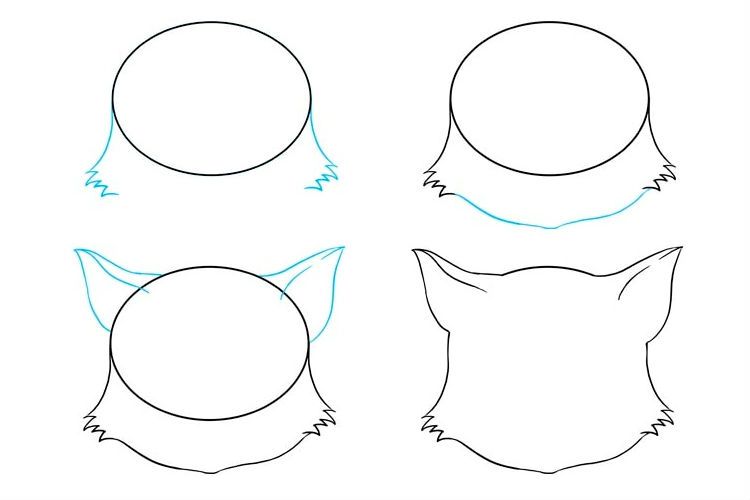
- Using a pencil or a fine-tipped marker, draw the basic shape of the head. It's almost round, slightly wider at the bottom. Draw a central vertical line and a horizontal line running at eye level. Next, draw the triangles for the ears, the contours of the nose, and the whisker pads.
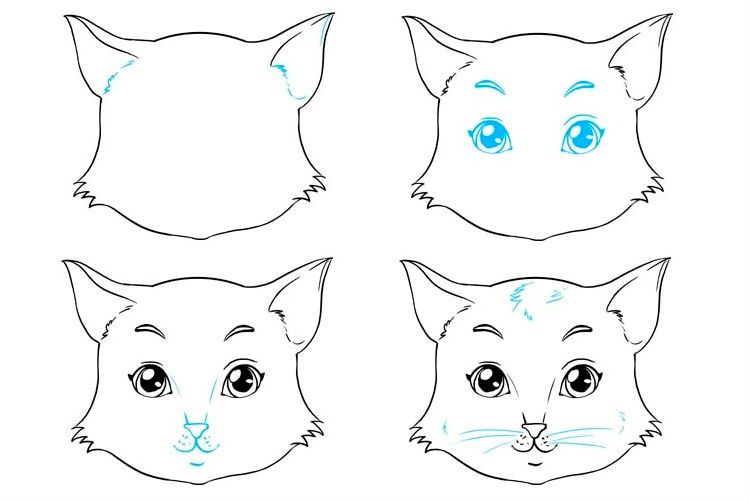
- We outline the eyes. They are set wide apart and at an angle. A female cat's face is easily distinguished from a male cat's by the eyes; the latter's are slightly smaller. We draw the mouth.
- The sensitive cat nose fits well into a downward-pointing triangle. Draw the arched chin.
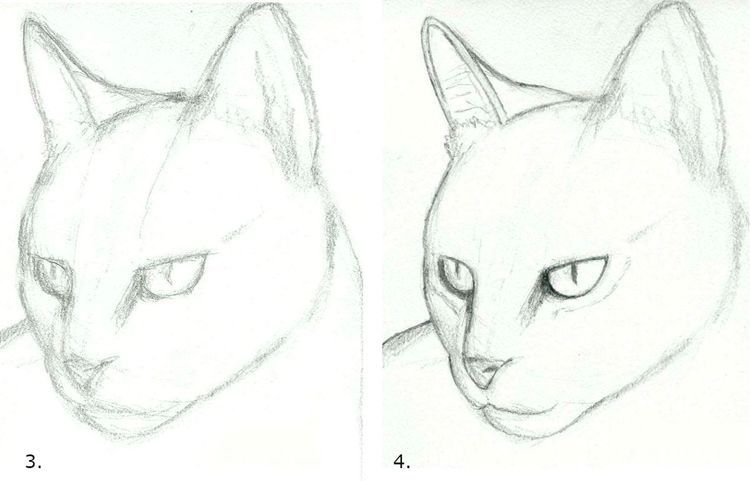
- Since the head is voluminous, the lower line of the ears can't exactly match its outline; they'll always be slightly lower. We immediately draw the fluffy fur, applying short strokes in different directions.
- The reference image ends here. Next comes a detailed, single-line drawing of the fur, whiskers, and eyebrows. This creates an excellent base for the pencil drawing.
Maximum realism
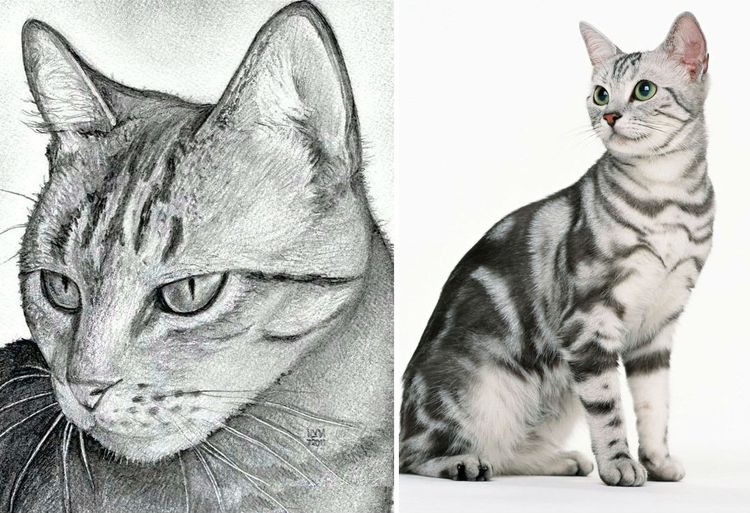
The best way to depict a realistic cat's face is to use a photograph as a reference. However, simply copying what you see is unlikely to work. You need to understand the principles of conveying volume and aerial perspective on paper to bring the two-dimensional sheet of paper to life, transforming it into a small domesticated predator.
Drawing with a pencil
The best way to begin your exploration of the world of fine art is with graphic art. A black-and-white cat's face requires only chiaroscuro, whereas painting requires careful color matching. The most popular and accessible graphic tool is the pencil. Drawings created with it are easy to correct, and shading helps conceal rough strokes and adds airiness to the composition.
It is recommended to use pencils of two types of hardness: hard H or F for drawing auxiliary lines, and soft - 2B and higher, for tracing.
Read also on our website about: How to draw a dog or other animals step by step.
Step-by-step instructions:
You can draw from life, but it's unlikely a living "model" will be willing to pose for long. Only true masters can capture both the desired angle and shadow balance in a matter of minutes. So, let's turn to photographs again. Having chosen a suitable image, first make a reference (sketch), determining the rotation and tilt of the head, approximate proportions, and the position of the light source. The latter factor is necessary for creating volume on a flat surface—the illusion of perspective is created by shadows.
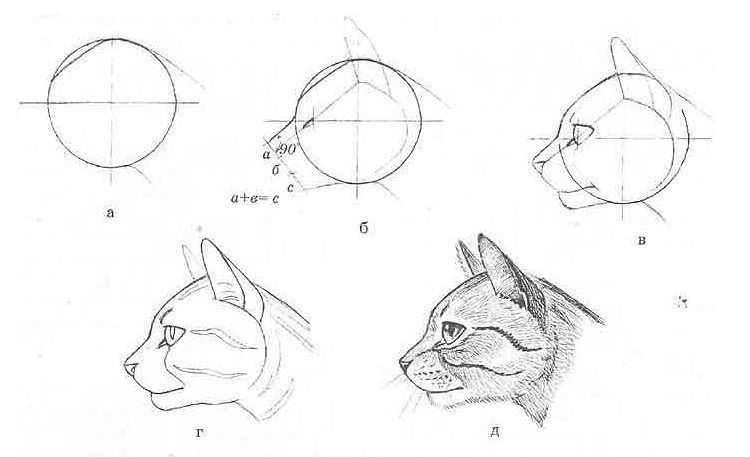
- So, first sketch out the cat's face with a hard H pencil (or F at worst). This leaves light, barely noticeable lines. Don't try to make them brighter by pressing down on the lead. This will leave indentations that will be visible in the drawing after the sketch is erased.
- We'll use a sphere as a base. We'll make it more challenging by drawing the head at a half-turn. The central line becomes curved rather than straight, echoing the shape of the sphere.
- Remove the guide lines with an eraser or kneaded eraser. Replace the hard pencil with a soft one, ideally a 2B. A lead that's too thick is undesirable for beginners; it's difficult to erase because some of the pigment remains, smears across the paper, and creates a "smudge."
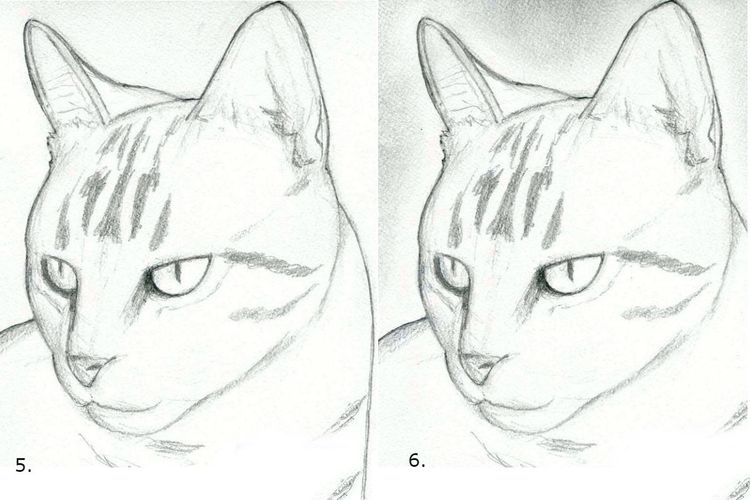
- It's best to begin detailing the eyes. Emphasize the dark shadows in the corners of the eyelids. Draw the rest of the face, emphasizing the foreground: the nose, mouth, and ear.
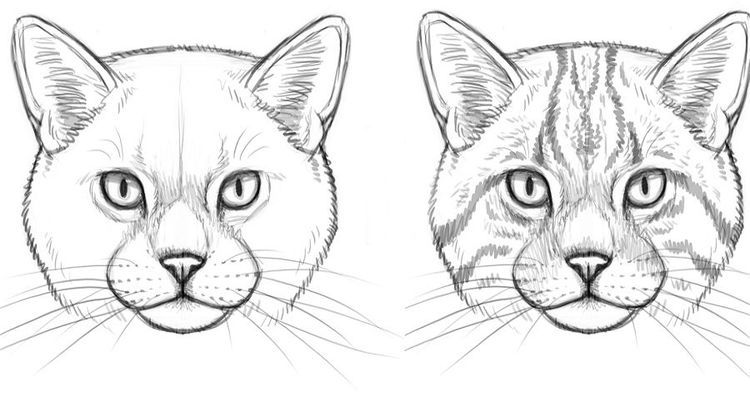
- We apply a striped pattern to the cat's forehead. We try to copy it as accurately as possible.
- A background will help highlight the foreground and immediately bring the image to life. Use a special blending tool or blend the applied strokes with a cotton swab (or a piece of cotton cloth).
- Our light source is on the right side. Therefore, we shade the left side of the animal's face, chest, and ears. The lightest tone should be at the top, and the darkest at the bottom. You can use pencils of different hardnesses to avoid mistakes.
- We're working on fine detailing the ears. We're drawing the fur inside each one.

- Moving on to the eyes, we notice the pupils – in the light, they constrict, turning into vertical "scores," and in the dark, they dilate, becoming round.
- We draw the fur between the ears and eyes. Keep in mind that the shadows in the back are thicker than in the foreground, where the light source is located. Apply short, energetic strokes along the hairline.

- Continue filling in the hair. Leave the whisker pads, lower jaw, and stripes around the eyes light. Use a clean, thick eraser to draw the whiskers.
- Darken the left side of the body as much as possible. This is the shadow cast by the head. Before doing this, outline the white mustache with a B2 pencil to make it stand out more clearly.
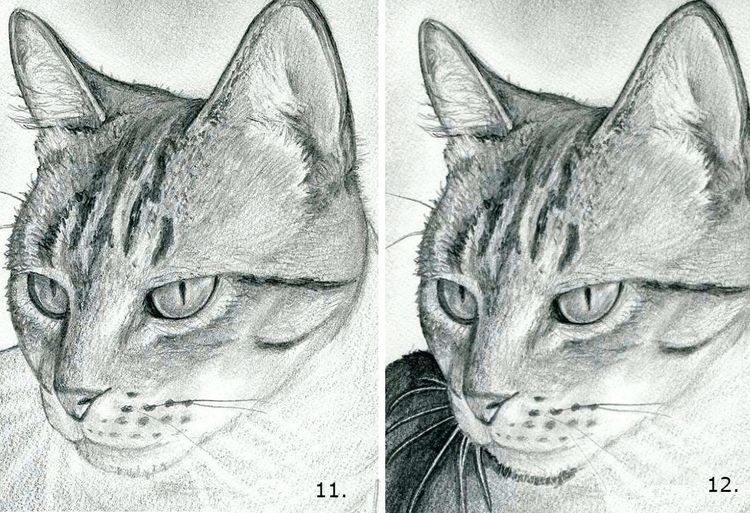
- All that remains is to smooth out any overly strong contrasts, add some tone to the neck, and correct any inaccuracies if there are any.
The pencil drawing of the cat's face is finished. It looks impressive and realistic.
Profile drawing using the same technique:
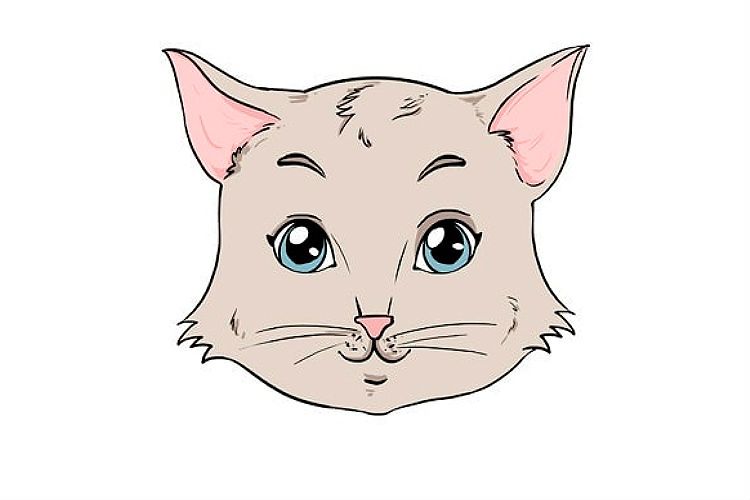
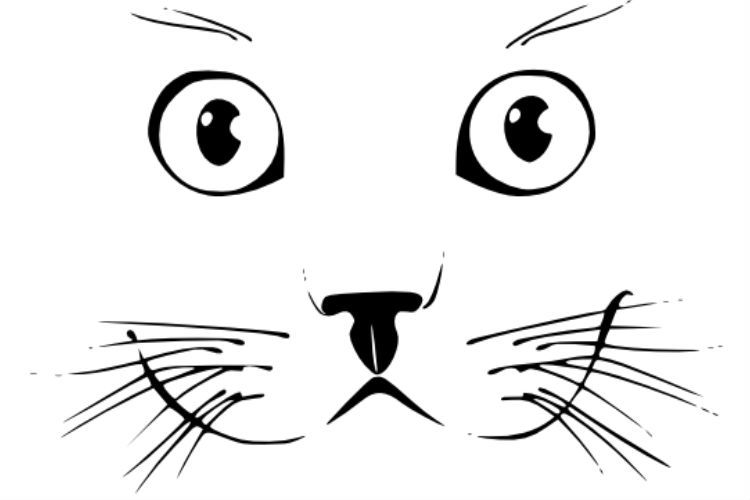
Children's version
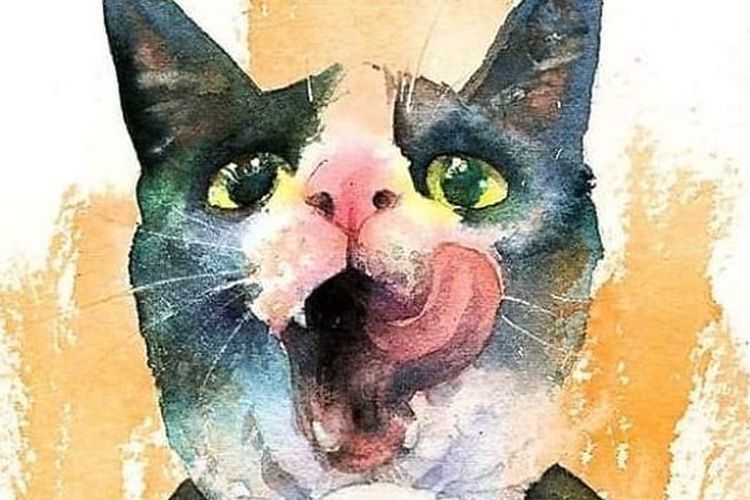
Little animal lovers are unlikely to be interested in "adult" drawings. For them, or even better, together with them, you can draw a funny cat face in an animated style.
We use markers and watercolor paints.
You can make up a wonderful fairy tale about a drawn cat, especially if it is not alone, but with a large family.
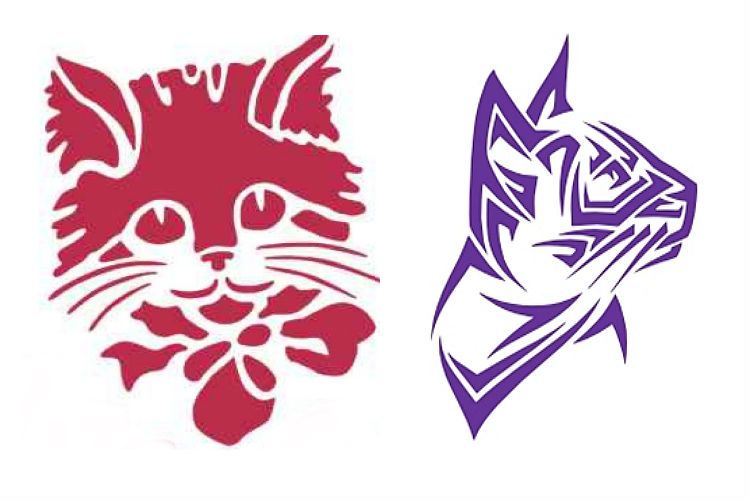
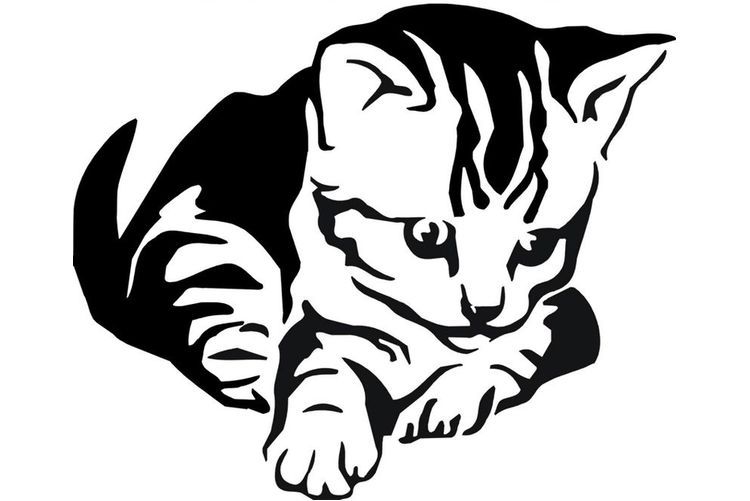
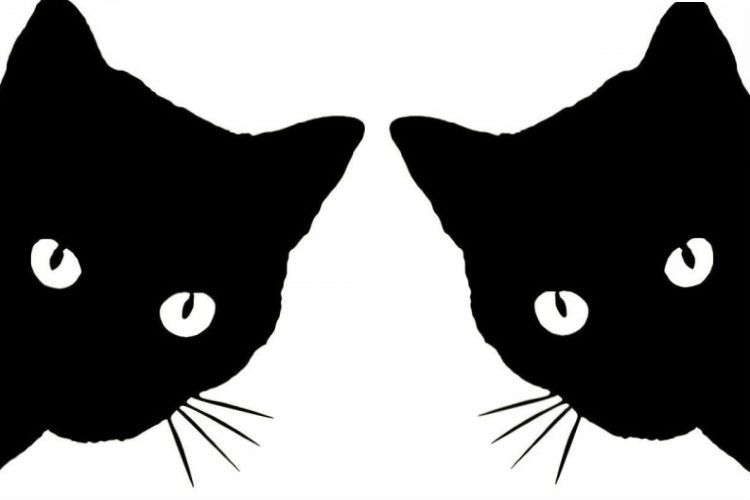
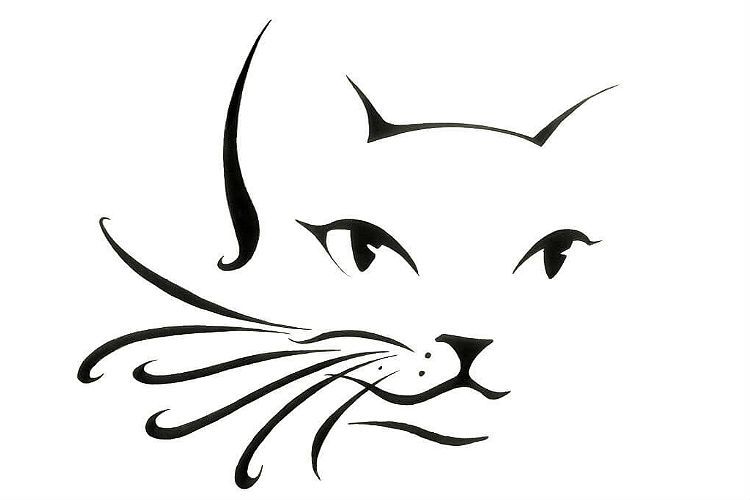
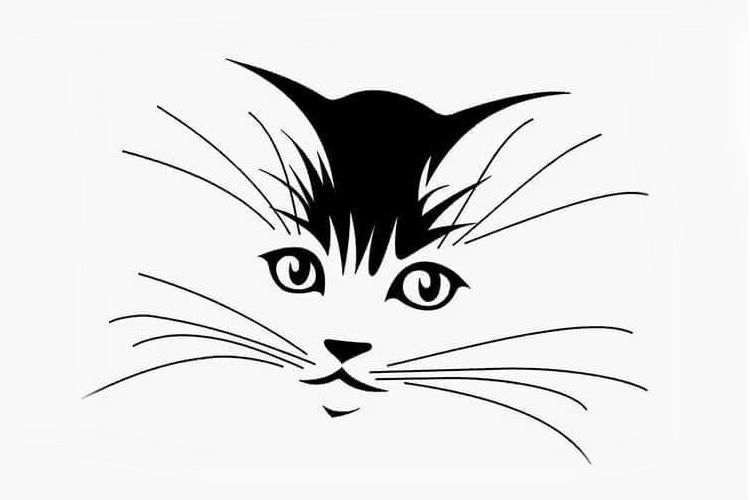
Stencils
For decorating windows, walls, or furniture, it's best to use ready-made templates. Even if artistic talent isn't your thing, drawing a beautiful cat face using a stencil is within the reach of both children and adults. Simply print out your favorite image and get to work. Glass is painted with a special acrylic spray, while walls are painted with water-based paints, a sponge, or a wide brush.
Read also:


1 comment
Meow
Thanks, I drew myself a cat.
Add a comment