
DIY Automatic Cat Feeder
Cat owners are familiar with the problem of how to feed their pets when they're left home alone. The best solution is to install an automatic feeder. If you can't afford a ready-made device, you can make your own. To simplify the task, we offer two easy-to-make options.
Automatic feeder with a clock mechanism
Making your own automatic cat feeder isn't difficult. All you need to do is acquire the necessary materials and set aside an evening to bring your idea to life.
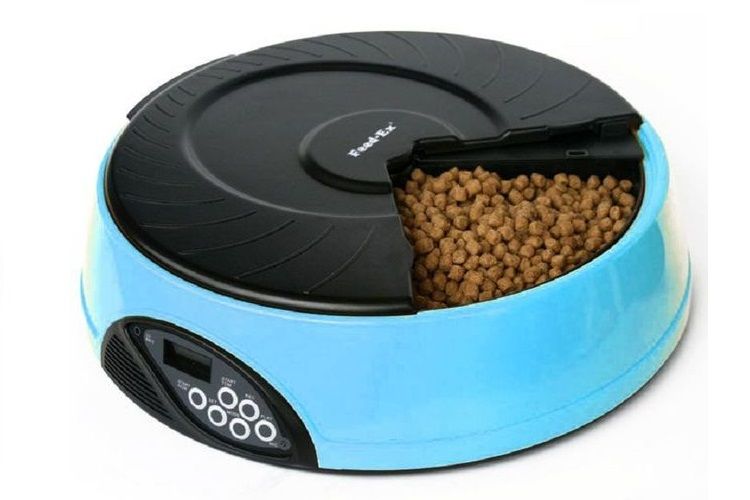
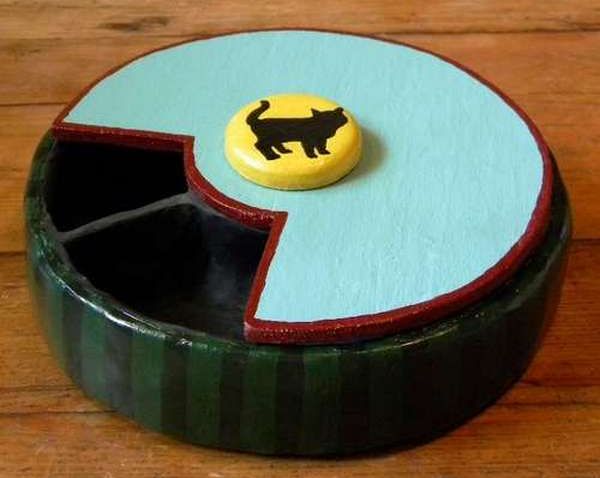
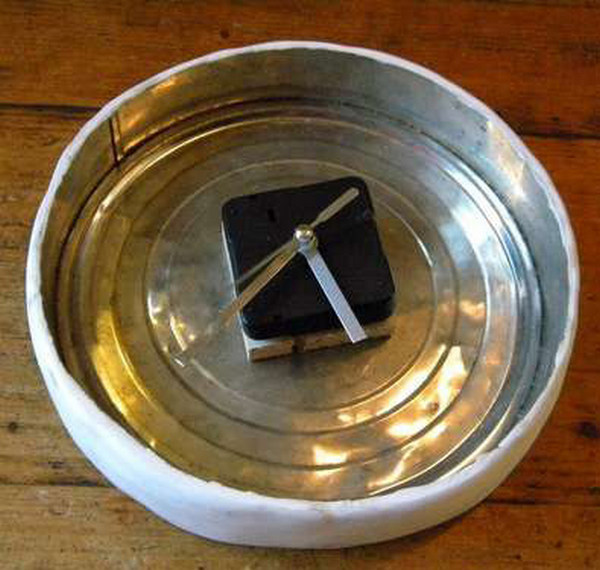
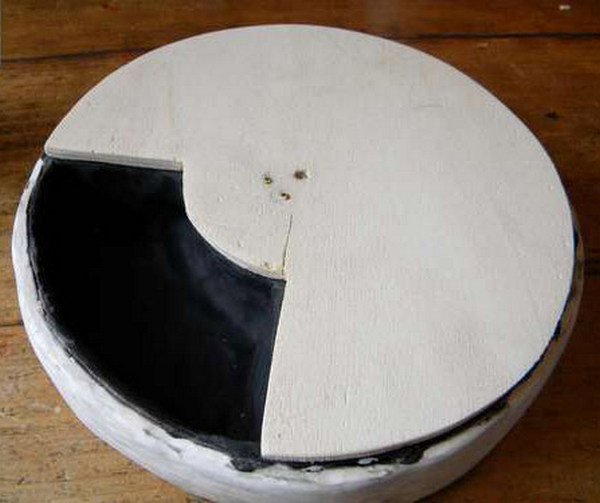
This automatic feeder is a bowl divided into four compartments. A lid with a cut-out section opens every three hours to reveal one of the compartments. The lid rotates using a quartz clock mechanism. A quartz clock mechanism, taken from an alarm clock, is convenient for this purpose. However, since it is designed to withstand the minimal loads generated by the virtually weightless hands of a clock, it is important to ensure that the disc rotates without friction or jamming when using it to rotate the lid.
To make a bird feeder you will need:
- tin box with removable lid;
- quartz watch mechanism;
- hour and second hands;
- plastic or plywood blank for the rotary disk;
- clay for sculpting internal cells;
- 2 cloves;
- nippers.
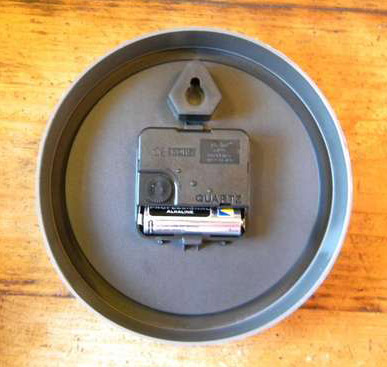
First, remove the clock mechanism. In its central section are two white plastic tubes, one inside the other. These are the shafts for the minute and hour hands. A central metal rod drives the seconds hand.
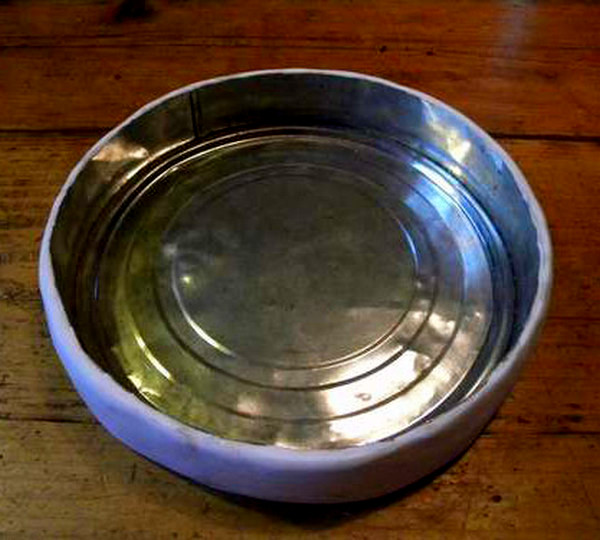
To make the body of the feeder, mark a tin can at a height of 35 mm. Cut the top of the container with wire cutters. To remove sharp edges, seal the cut edges and the outer sides of the feeder with strips of clay. Bake the bowl in the oven.

A wooden base is cut to the size of the mechanism. The base's thickness is adjusted so that the white shafts protrude 1-2 mm above the surface, while the mechanism body remains below the walls.
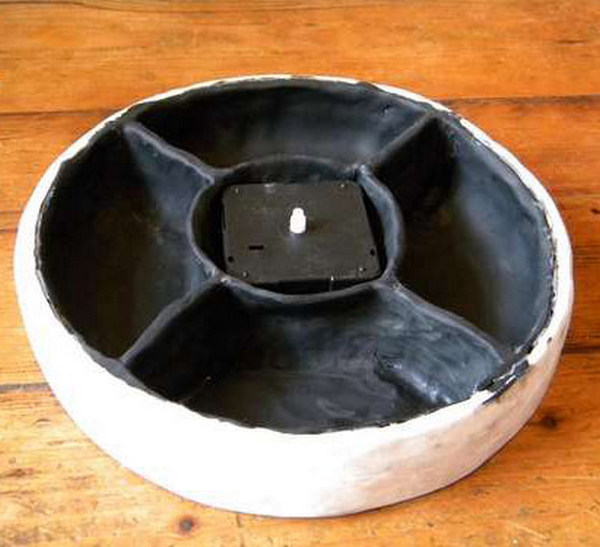
The clay is used to form internal partitions and mold a compartment to house the clock mechanism. The mechanism should fit easily into the central compartment. If necessary, the shape of the compartment can be modified while the clay is still soft.

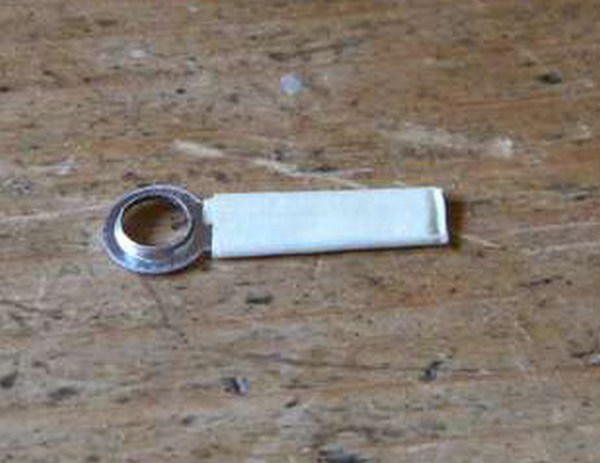
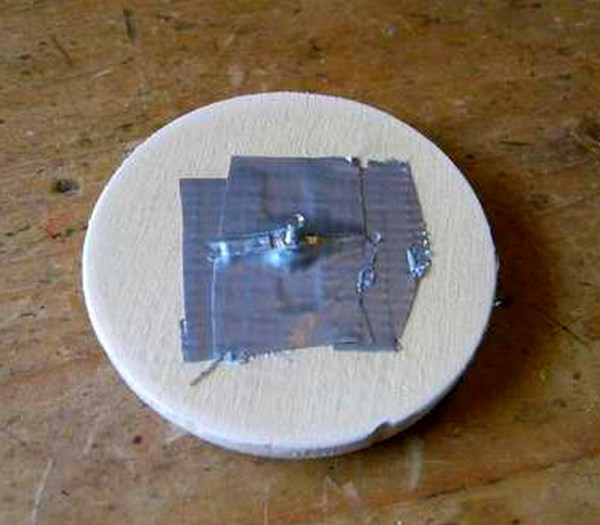
To strengthen the hour hand, wrap it with 2-3 layers of tape. If the hand protrudes beyond the compartment, trim it with wire cutters.
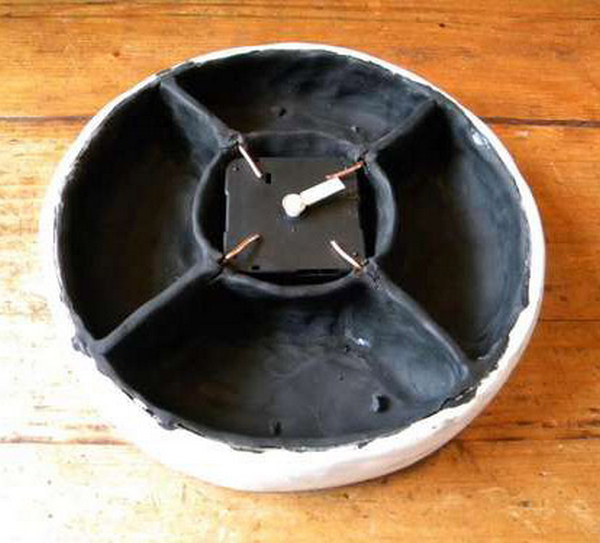
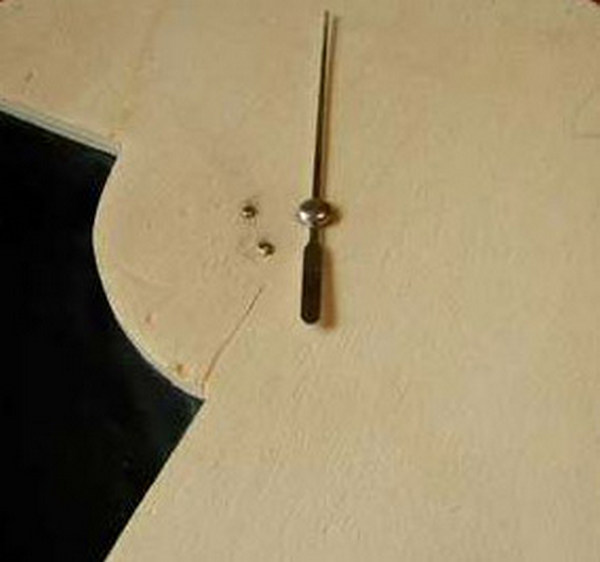
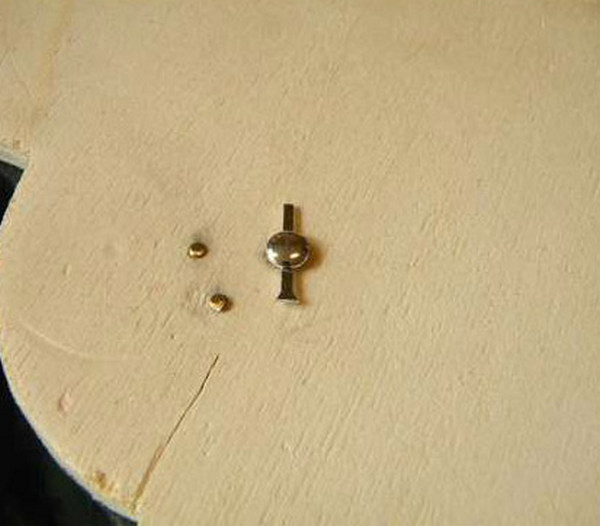
The mechanism is inserted into the compartment, secured with pieces of soft wire. A hand is attached to the top of the mechanism.
A rotating disk is cut out of plastic or thin plywood. A quarter of the disk is cut away from the center, 30-40 mm away from the main compartment. A hole is drilled in the center, aligning with the location of the outer white tube of the clock mechanism.
Two nails are driven into the center of the disk, allowing the hour hand to fit between them. The nails should be long enough so that their ends do not touch the device's body.

The metal rod holding the seconds hand in place is removed from the mechanism. It is shortened, making the ends equal in length, and then reattached to the rod.
A lid with a diameter of 50-60 mm is cut out of plywood. A pin with an arrow is attached to the bottom of the lid using tape. The assembled lid is installed in its permanent location.
The automatic feeder is ready. All that's left is to test the system and decorate the device to your liking.
Automatic feeder with servo motor
A stationary automatic feeder is a more complex design. Its construction is best handled by those familiar with electronics.
This model is convenient because it features a spacious compartment. It easily holds up to 4 kg of food, more than enough for two weeks of feeding.
To make a bird feeder you will need:
- wooden or plywood sheets;
- glass or plastic blanks;
- tools for woodworking.
The unit will be driven by linear actuators, activated by a control unit. A servo motor can serve as the motor. It can be purchased commercially or made from scrap materials.
An example of assembling a simple motor from scrap materials is shown in the video instruction below:
In our case, the Micro Servo Towerpro SG90 9g model is installed.
To control the motors and set time intervals, you'll also need a microcontroller. This example uses the most basic Arduino microcontroller. This budget-friendly model has low power consumption and boasts excellent performance, making it ideal for this type of task. You'll also need pins to connect the board to the servo motor and a 5V USB charger.
To program the feeder to open, setting a 24-hour interval between feedings, write the following code for the Arduino:

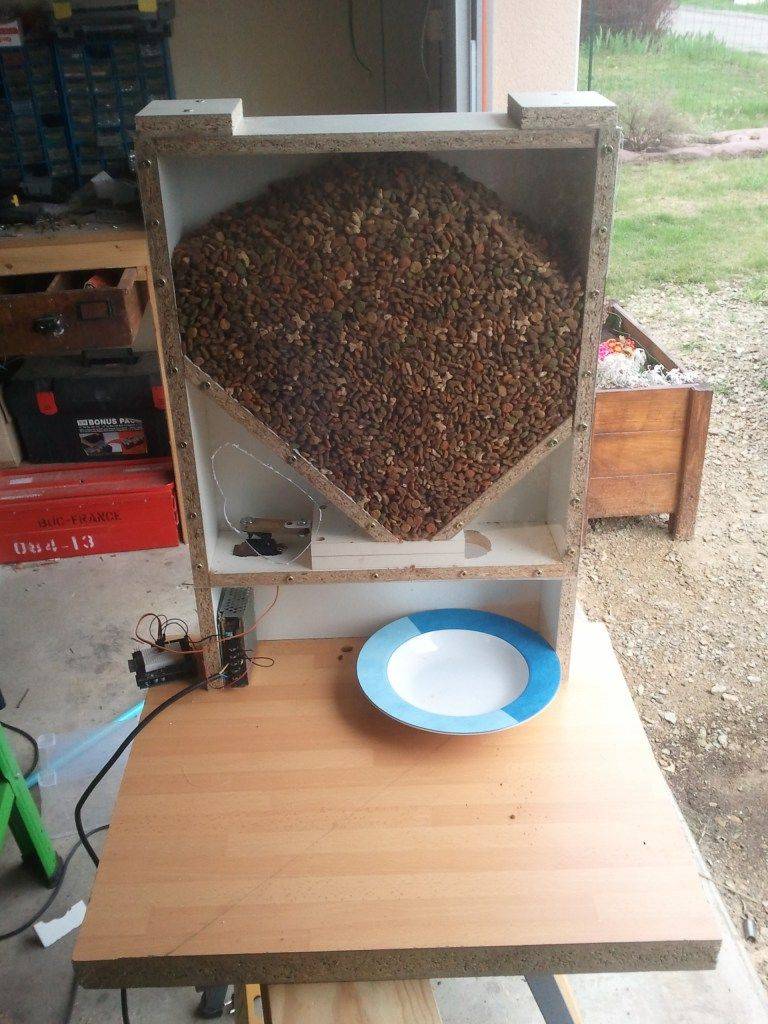
The first step is to assemble the wooden structure. It is constructed using boards 80 cm long and 60 cm long, each 10 cm wide. The structure will be shaped like a box, standing upright on legs. The back of the box is covered with plywood, and the front is covered with clear plastic.
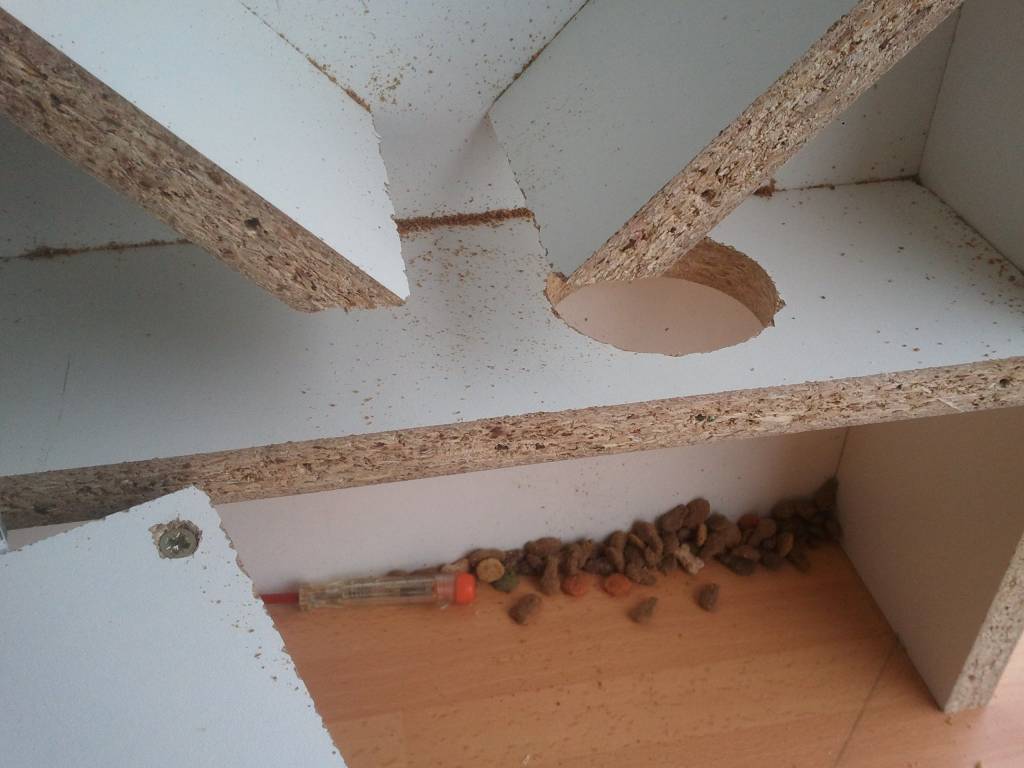
Two food guide strips are nailed to the bottom of the box at a 45° angle. Their bottom ends rest against two sliding boards fastened together. This rectangle partially covers the hole drilled through the bottom board. The diameter of the hole should be slightly smaller than the cat's bowl.

The device's operating principle is simple: at intervals set by a microcontroller, a rectangle consisting of identically sized boards fastened together shifts sideways. At this moment, a hole drilled inside it aligns with a hole in the box wall. As a result, a portion of food spills into a bowl placed underneath.
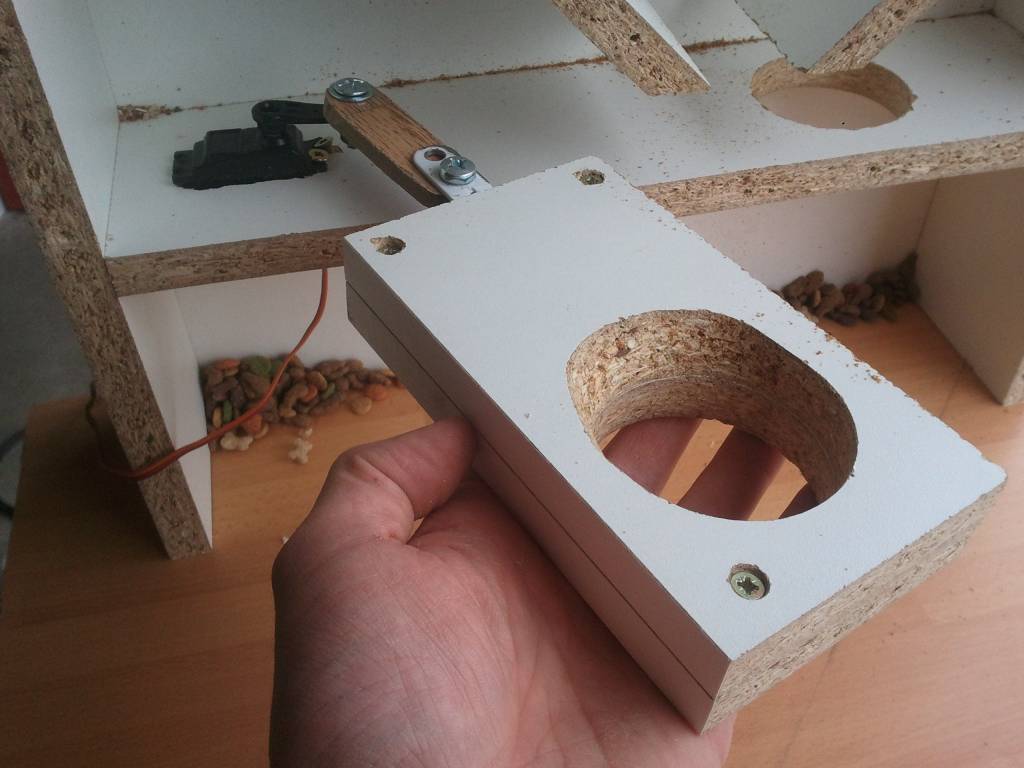
To make the structure movable, a block with a through hole is attached to the bottom bar using movable links.
In the lower left corner of the assembled structure, a hole is made to allow the mechanism to be connected to the engine.
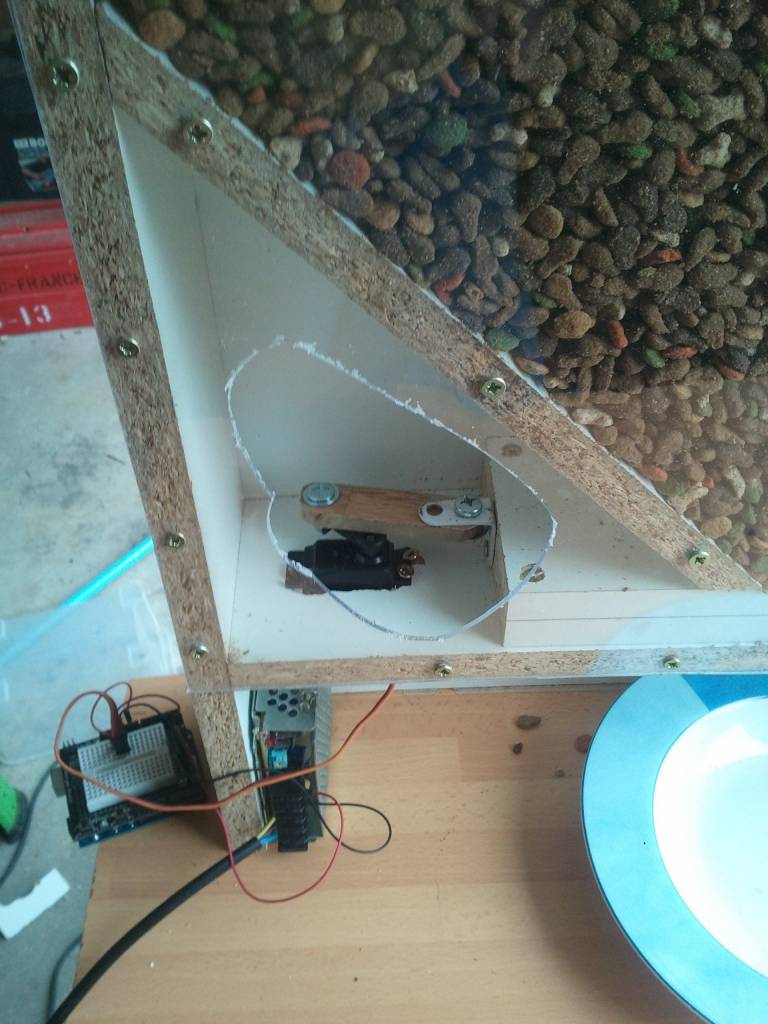
The servo motor and microcontroller are connected to the circuit using wires. The board is powered directly from the mains, connected to a 5V USB charger. The system's functionality is then tested.
If the mechanism works properly, all that remains is to fill the feeder with food and invite your four-legged pet to taste the treat.
Based on the described design, a feeding system with a slightly different operating principle can be constructed. In this case, the feeder body is made of acrylic sheets, and the rotating dispenser is made from discarded CDs.
Here's a video tutorial on how to make a similar automatic cat feeder yourself:
Read also:


Add a comment